A COMPLETE COURSE IN DRESSMAKING
setting the medallion in the right way, there isn’t very much work. However, don’t cut away the material and try to whip the medallion to the raw edges. It won’t make a nice finish.
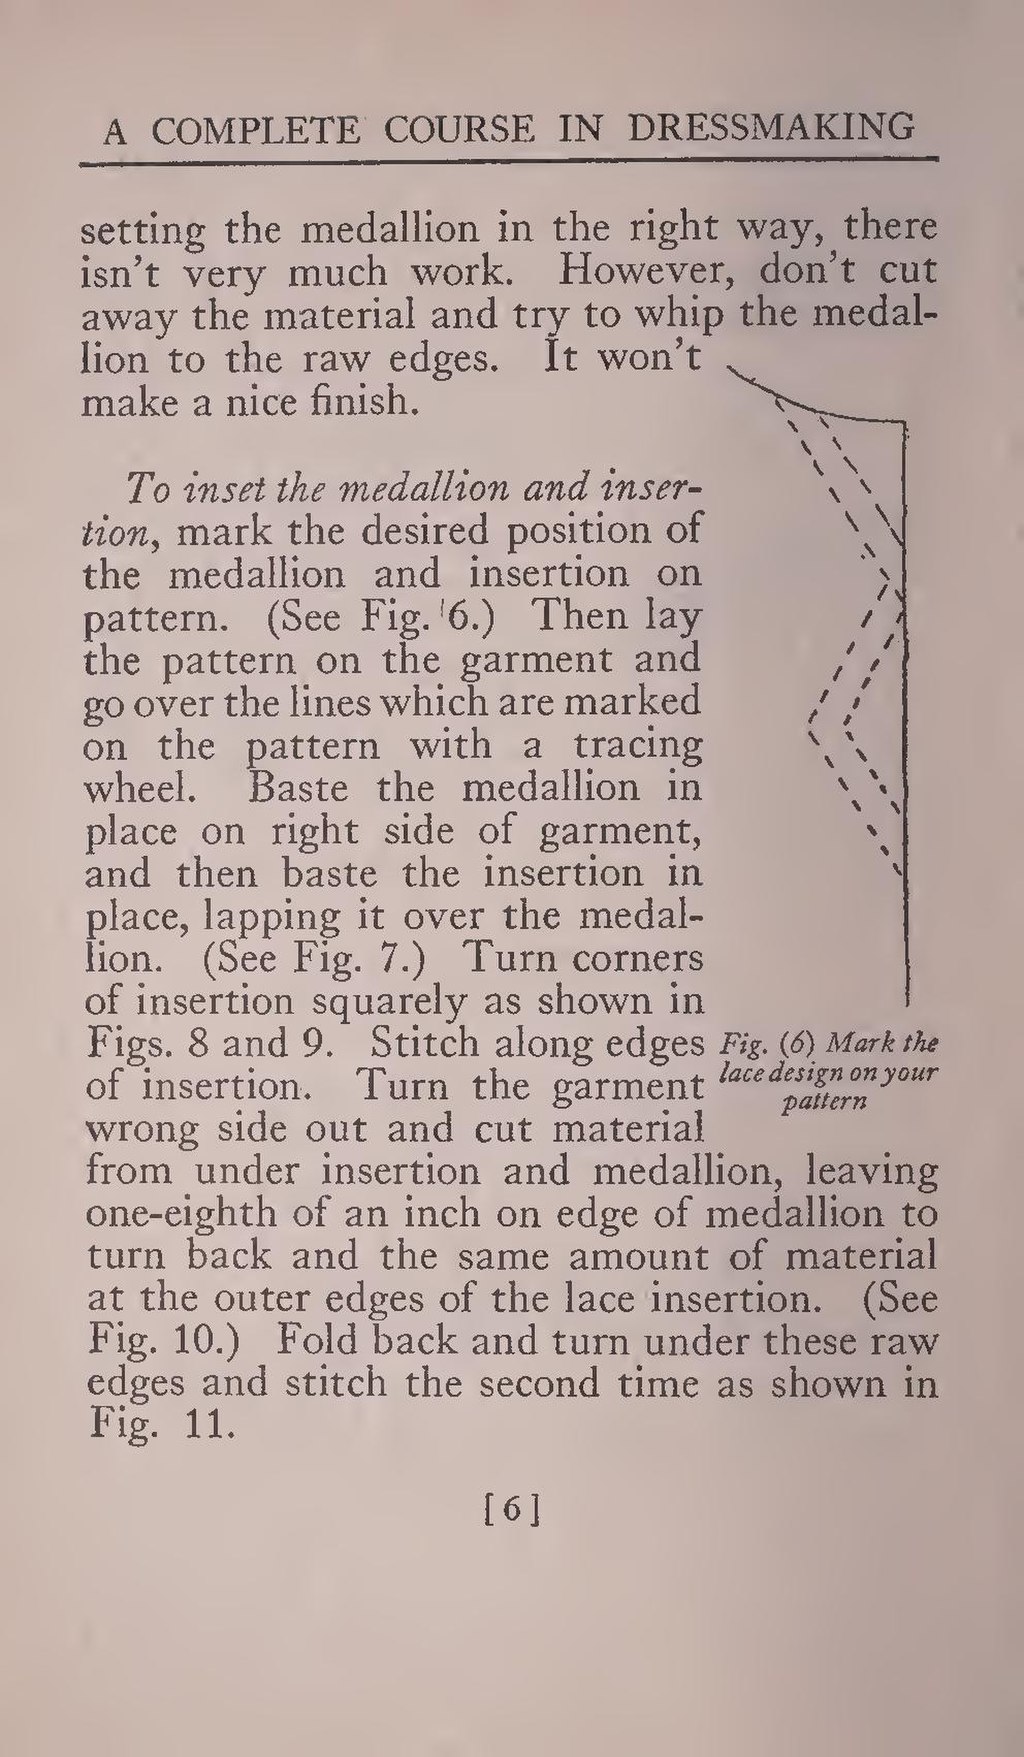
_(IA_completecoursein03cono)_(page_10_crop).jpg) Fig. (6) Mark the lace design on your pattern
To inset the medallion and insertion, mark the desired position of the medallion and insertion on pattern. (See Fig. 6.) Then lay the pattern on the garment and go over the lines which are marked on the pattern with a tracing wheel. Baste the medallion in place on right side of garment, and then baste the insertion in place, lapping it over the medallion. (See Fig. 7.) Turn corners of insertion squarely as shown in Figs. 8 and 9. Stitch along edges of insertion. Turn the garment wrong side out and cut material from under insertion and medallion, leaving one-eighth of an inch on edge of medallion to turn back and the same amount of material at the outer edges of the lace insertion. (See Fig. 10.) Fold back and turn under these raw edges and stitch the second time as shown in Fig. 11.
Fig. (6) Mark the lace design on your pattern
To inset the medallion and insertion, mark the desired position of the medallion and insertion on pattern. (See Fig. 6.) Then lay the pattern on the garment and go over the lines which are marked on the pattern with a tracing wheel. Baste the medallion in place on right side of garment, and then baste the insertion in place, lapping it over the medallion. (See Fig. 7.) Turn corners of insertion squarely as shown in Figs. 8 and 9. Stitch along edges of insertion. Turn the garment wrong side out and cut material from under insertion and medallion, leaving one-eighth of an inch on edge of medallion to turn back and the same amount of material at the outer edges of the lace insertion. (See Fig. 10.) Fold back and turn under these raw edges and stitch the second time as shown in Fig. 11.
[ 6 ]